
Kubernetes Cluster on AWS with Terraform
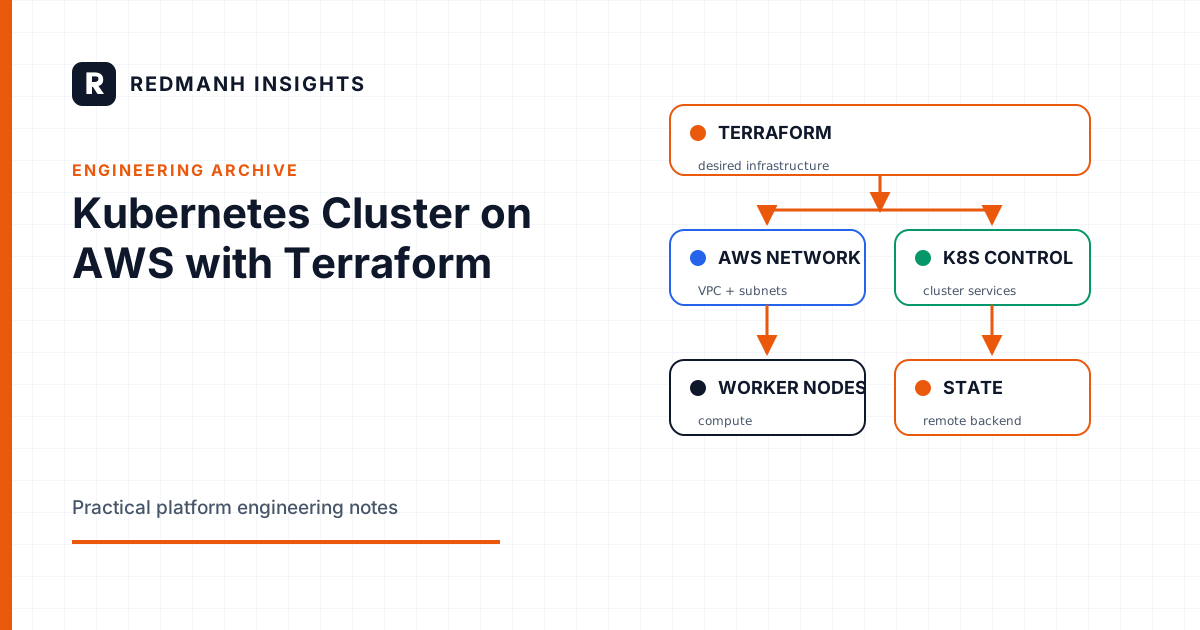
So I’ve reluctantly had to move from Docker Swarm to Kubernetes since Docker was acquired by Mirantis (here) and the future looks kinda bleak for Swarm right now.
I’ve been slowly moving my apps to Kubernetes and the first step is to have a Kubernetes cluster on the cloud I can destroy and create in seconds (maybe minutes). Here’s where Terraform comes in. Terraform uses Infrastructure as Code to provision and manage any cloud, infrastructure, or service (their words not mine). In this case, we will be using Terraform to provision a 6-node Kubernetes cluster on AWS with 3 masters and 3 workers. Also, I have chosen CoreOS Container Linux as the operating system of choice. CoreOS is a very lightweight OS designed for clustered deployment of orchestrated containers (Swarm/Kubernetes). Its pretty much a Linux kernel, some dependencies with Docker and rkt (eye-roll) engine installed. You can learn more about CoreOS Container Linux here. The final goal here is to be able to run a terraform apply command to provision the nodes on AWS and create our cluster automatically with kubeadm. Okay, let’s get to work.
Access to all my files can be found here on GitHub. You may clone the repo to your environment before you start. I have an EC2 instance named “Playground” on AWS with the right IAM role attached named EC2Allow (you can name it whatever you want) which allows me to spin up new EC2 instances from this instance using Terraform. This is the recommended way of giving permissions to your EC2 instances instead of using Access keys and Secret key.

The main file in the repo is the deploy.tf which contains the terraform configurations written in HCL (Hashicorp Configuration Language). The file provisions 6 EC2 resources for the 6-node Kubernetes cluster with the specified spec for each instance. Also, user data in the form of a CoreOS ignition file was passed into each resource. To do this, we, first of all, create a container Linux config file for each resource. A Container Linux Config is a YAML document that declares how Container Linux instances’ disks should be provisioned on network boot and first-boot from disk. We then convert the container Linux config files into an ignition file that CoreOS understands using a tool called the Config Transpiler. So the file clc/server1.yaml is converted to clc/server1.ign and so on. More on the config transpiler can be found here.
I also passed in a number of scripts into the EC2 instance during creation and the scripts can be found in the scripts directory in the repo. I created a web-server container from Apache to host the scripts using the command below:
docker run --name web-server --restart-unless-stopped -d -p 80:80 -v /home/ubuntu/k8scluster-terraform-aws/scripts:/usr/local/apache2/htdocs/ httpdThis runs a docker container from the apache httpd docker image and mounts the scripts directory into the home directory for the web server. After running the command, you can confirm that the server is up and running by accessing the IP address of your server on the browser and the output would look like below:

The next step is to set up our load balancer for the Kubernetes master nodes. I have chosen HA proxy for this because of its ease of use. Navigate to the ha-proxy directory in the repo and run the following commands
docker swarm init
docker stack deploy -c ha-proxy.yml load-balancer
This deploys the load balancer stack using the ha-proxy.yml deployment file (I know I know I just can’t leave Swarm alone). You can run docker service ls to confirm that the load balancer service is up and running.

Now that we have our web server and the load balancer set up, we can now deploy our terraform config. Make sure you replace the variables with the variables specific to your own environment in the variables.tf and terraform.tfvars files. Run the following command to initialize terraform in the directory
terraform init 
terraform plan --out deploy.out
terraform apply deploy.out
The terraform plan command validates the configuration and creates a plan file with the name you specified (deploy.out in this case). We can then apply the terraform plan by running the terraform apply command.
The following steps happen in the background after the terraform configuration has been applied:
- Terraform provisions the first EC2 instance on AWS based on the specification in the server1.ign ignition file.
- CoreOS runs the cluster-setup systemd service which is pretty much a bash script that automates the installations and initialization of the Kubernetes cluster.
- Terraform provisions the other 5 EC2 instances and also run the cluster-setup systemd service which installs Kubernetes components, copies the relevant SSL certs and join-key from the first Kubernetes master using scp, then finally joins the cluster either as a master or as a worker.

We can now ssh into one of the master nodes to confirm that our Kubernetes 6-node cluster has been set up correctly.

Now that we have our 6-node cluster running correctly, we can decide to deploy whatever cloud-native app we want to run on the cluster. I’m happy to shed more light on any of the pieces of the terraform configs or bash scripts in my repo if anyone needs a hand. Just drop a comment and I’ll try to respond as soon as I can. Till next time guys…
Redmanh
Need this built properly?
Redmanh LLC designs and operates Kubernetes platforms, Terraform managed infrastructure, and release pipelines for private and public sector teams.
Start a conversationRelated articles
Infrastructure as Code
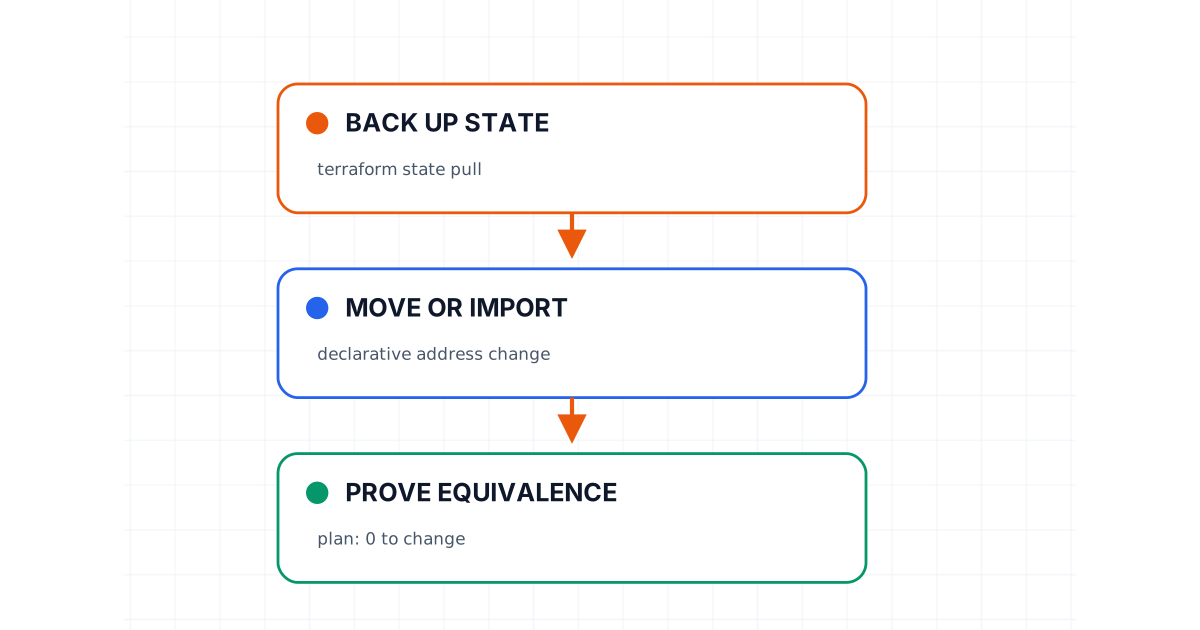
A Safe Terraform State Migration Playbook
Move Terraform state without gambling on production: back up, verify locks, map addresses, prove plan equivalence, and preserve a tested rollback path.
8 min read
Kubernetes
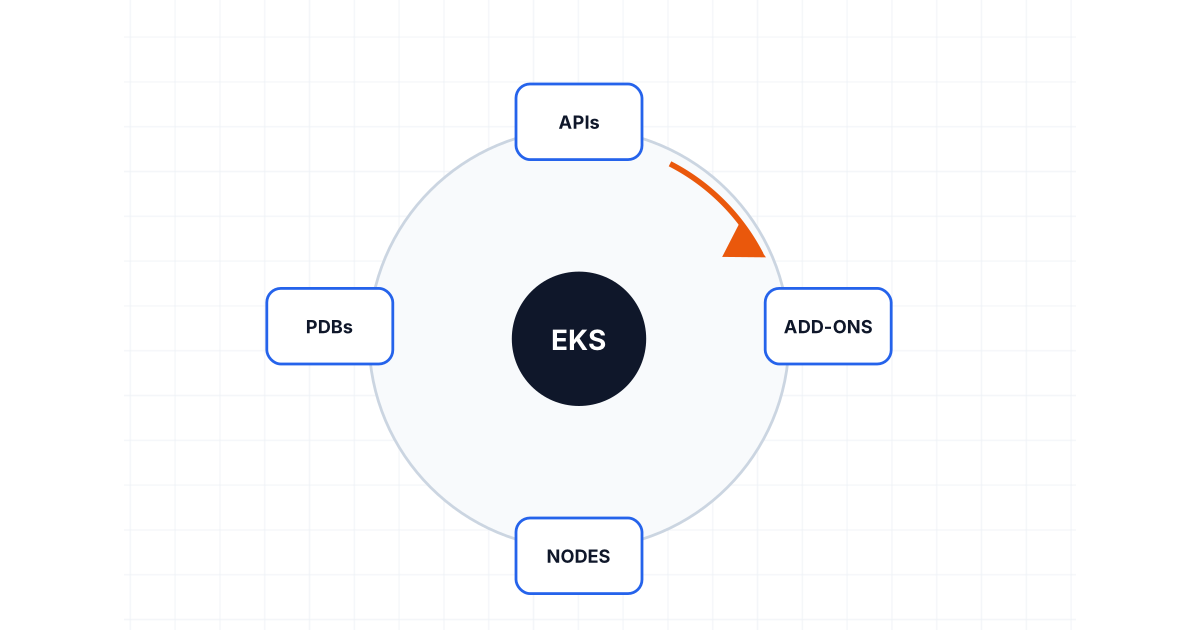
Planning an EKS Upgrade Without Turning It Into an Incident
Upgrade EKS with explicit checks for skew, deprecated APIs, add-ons, disruption budgets, replacement nodes, canaries, observability, and rollback limits.
8 min read
Delivery Engineering
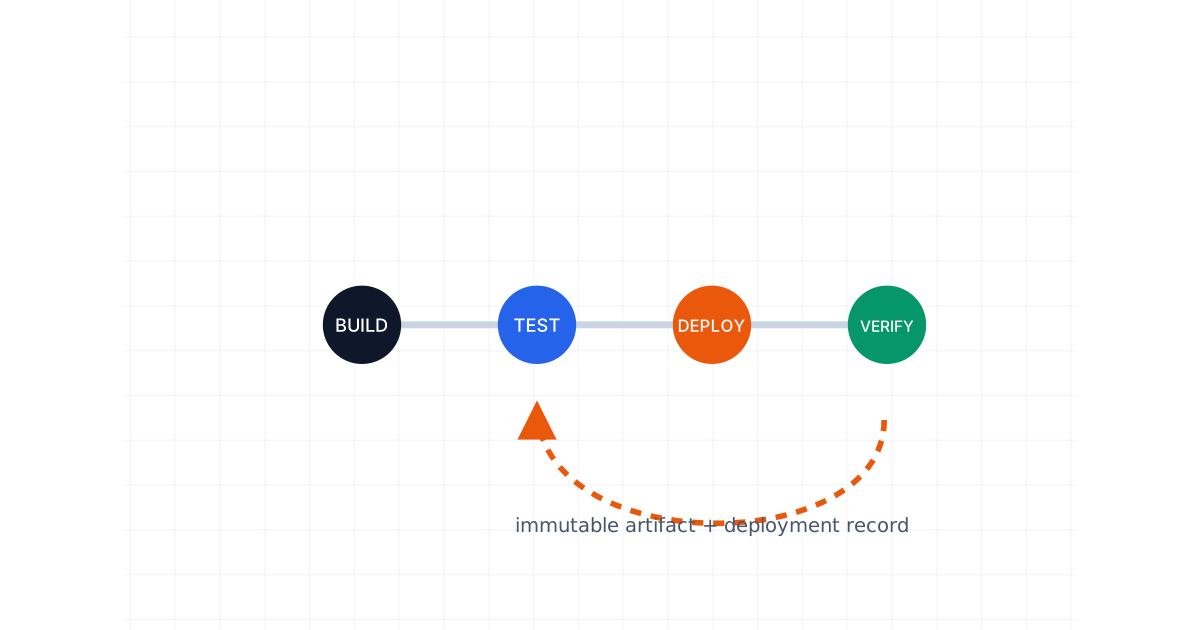
Rollback Is a Feature: Designing CI/CD Pipelines That Can Recover
Build recovery into CI/CD with immutable artifacts, deployment records, compatible database changes, progressive delivery, flags, drills, and evidence.
8 min read